eLearning at the CTL
Upcoming Events
All | Faculty | Grad Students
Contact
Centre for Teaching and Learning
Weldon Library (WL), Room 200
(519) 661-2111 x80346
ctl@uwo.ca
Using the Glossary Tool
.
The Glossary tool is great for creating a shared vocabulary that students can easily access throughout your course. Follow the steps below to use this tool:
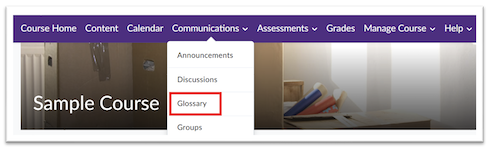
1. After logging into Brightspace and selecting your course, select Communications at the top (purple) navigation bar and choose Glossary on the drop-down menu. Note: your students will access the glossary this same way.
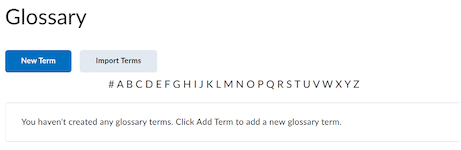
2. In the pop up that appears you will see two options in the top left-hand corner: New Term and Import Term
Import Term
Choose Import Term to upload a CSV file to fill in your glossary and select the Choose File button, to download a sample CSV file that you can use as a template.
New Term
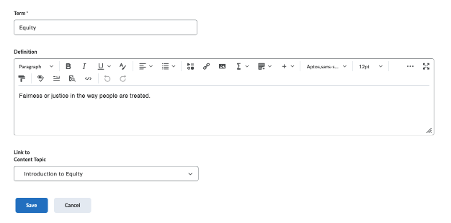
In the Term field, type in the word or phrase that you want to define. Next, in the Definition field, enter a clear and concise definition.
Note: This HTML editor allows you to add an image link out to an outside resource, or if you choose this Insert Stuff icon, you can add something from your computer, from manage files, a YouTube video, you can even record your own video or audio note if you wished.
At the bottom underneath the definition box, there is an option to link to Content Topic. Use this option if you would like to link within your course. For example, you may want to link to a specific page within your course that discusses the term.
When complete, select Save if you are finished adding terms. Here is an example:
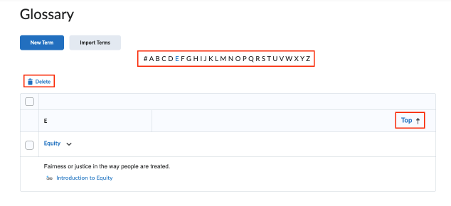
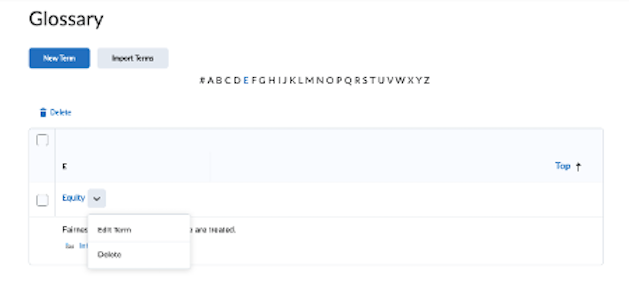
The term has been added along with the definition and the link to where the term is expanded within your course. You can always come back and edit or delete terms as needed. Simply select the drop-down menu beside the term and then edit or delete.
Tips
1. To delete multiple terms at a time, just select the check boxes beside each term and then choose the delete button at the top.
2. Across the top, your students can navigate using the alphabet letters. If there is a term in the glossary starting with a certain letter, it will turn blue and become clickable, so students can select that letter to get directly to a term.
3. Notice a top link next to each term. This allows you or your students to jump up to the top whenever you would like.